
Removing duplicates in a worksheet
This is a function I use most when dealing with mailing lists, it’s invaluable and incredibly simple.
There are many times that you need to make sure you only have unique values in your list. You could be preparing a mailing list, trying to count the number of products you have in an item ledger or looking for unusual payments in your bank records.
I have often come across people sorting their worksheet and going through the entries one by one, checking by eye if the entries are the same, and deleting those that are. They are usually equally happy and dismayed to learn that one button on the ribbon will do it all for them, but they will never get back those lost hours.
The first step is to tell excel what range you want it to look at. If you have just one column of data this is as easy as selecting the whole column, if you have several columns you can select all the columns. If you have a specific range you want to use this function, then just select that.
With your range selected, go to the tab Data and look for the button ‘Remove Duplicates’, press it. You will see a window pop up that will have a list of all the columns that you have selected if you have a large set of data you should tick the ‘My Data Has Headers’ option to make it as easy as possible to work with.
Here you are being given the option to chose the extent of the checks that Excl is making to your data. If you deselect all columns except one, Excel will check for any duplicates in that column, if it finds them the whole row will be deleted. If you select all the columns, Excel will look for any row that is a complete match to any other row and delete them. If you chose a selection it will look for all of these to match but not look for a match in the others.
It’s worth pointing out here that when Excel is scanning your data from the top down, if it finds a match it will delete the subsequent matches and leave the original.
When you are satisfied in your selection press OK and Excel will get to work. Very quickly you will see that Excel has completed its work and will display a message box with information about what it has achieved, with details of how many records have been removed and how many remain.
There are other ways to quickly identify duplicates (conditional formatting) or to generate a unique list without deleting any data (Advanced Filter, Pivot Table, VBA), but the built-in function is clearly the simplest option.
One of the fun parts of using Excel is choosing the best of several methods to get the same result, what ways do you know to deal with duplicates that i have not mentioned? What is your favorite method to deal with duplicates? let me know in the comments below.
Find more quick tips like this and more on my post: Top skills to make you look like a wizard!
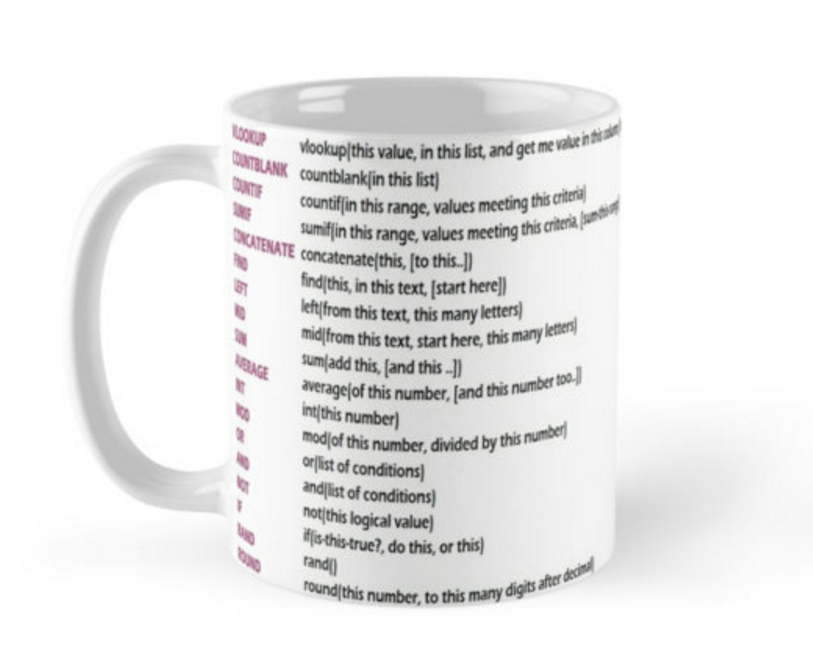
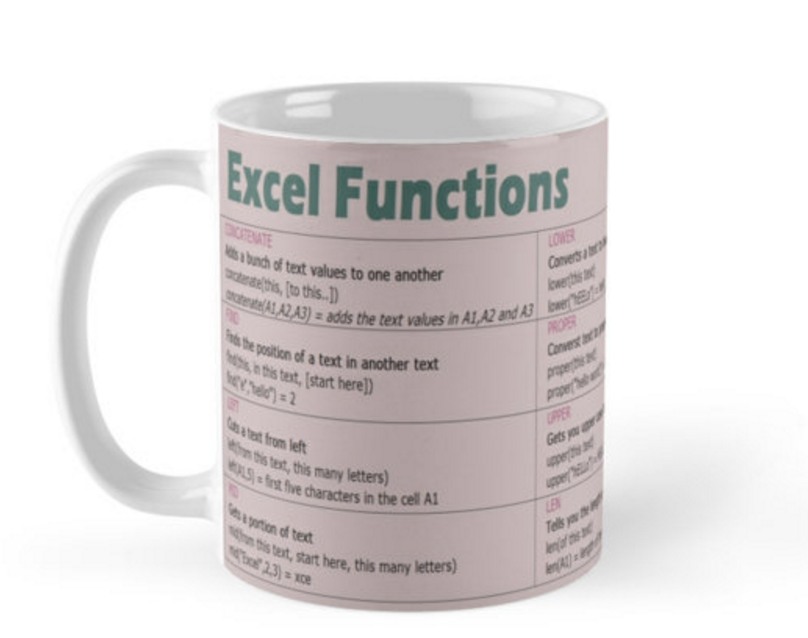
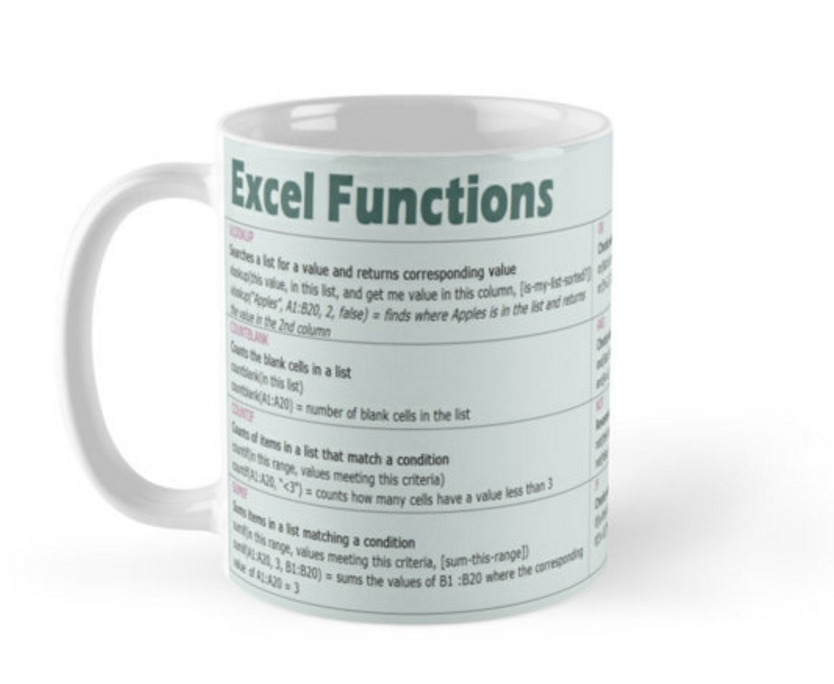
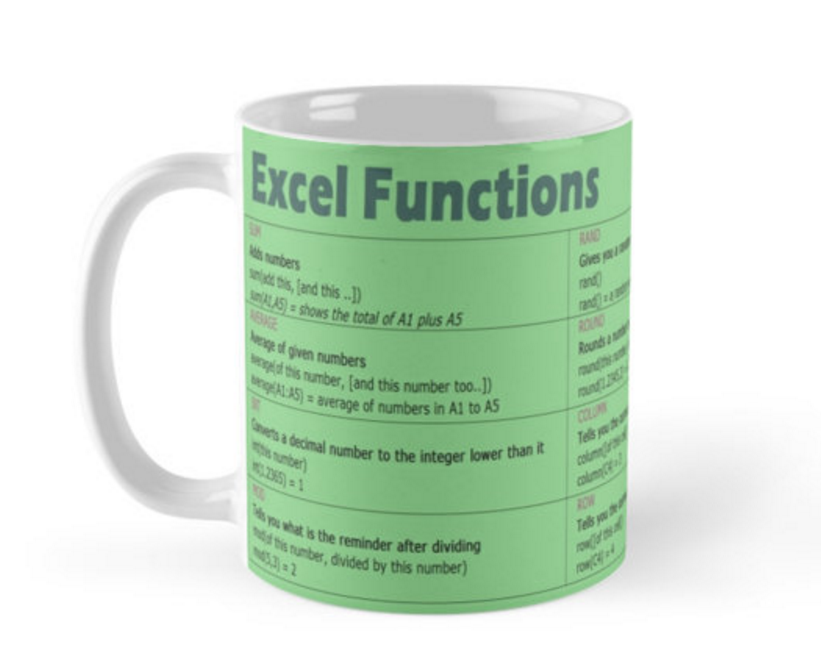
The Excel cheat sheet mugs below will give you a head start to becoming a Spreadsheet wizard!
Pingback: Top 10 skills you need to learn in Excel to make you look like a wizard. – IMTHEBUS